Seat cover installation
Here you can find out how to mount the seat cover on your motorcycle seat yourself.
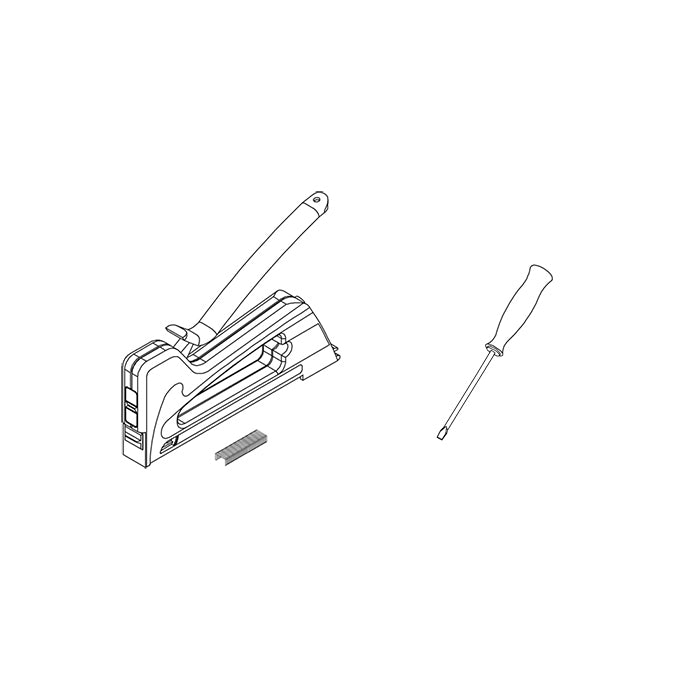
(1) Tools
All you need to install our seat cover is a sturdy hand stapler, staples and a slotted screwdriver.
Electric stapler or compressed air stapler (alternatively hand stapler)
Stainless steel or galvanized staples (height 6mm)
slotted screwdriver
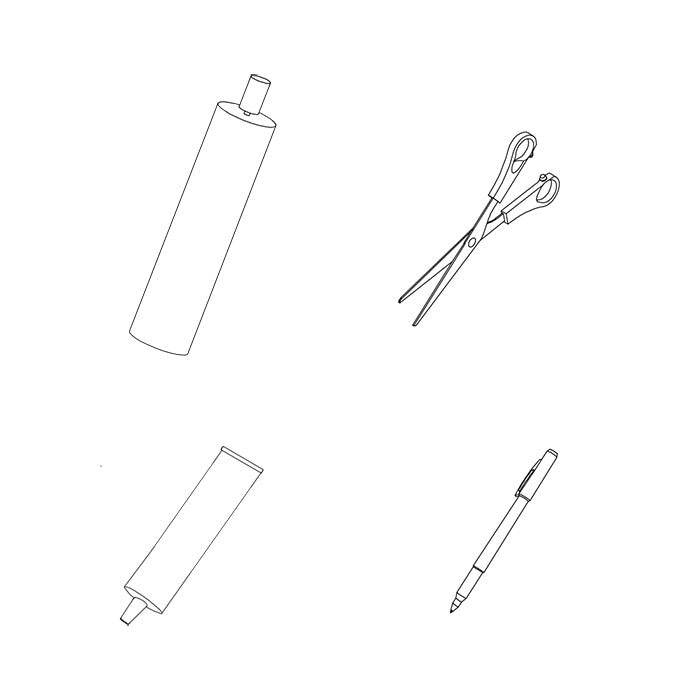
(2) Optional tools
Not necessary, but our recommended optional tools makes the job a lot easier.
- foam spray adhesive
- cloth scissors
- power glue
- permanent marker
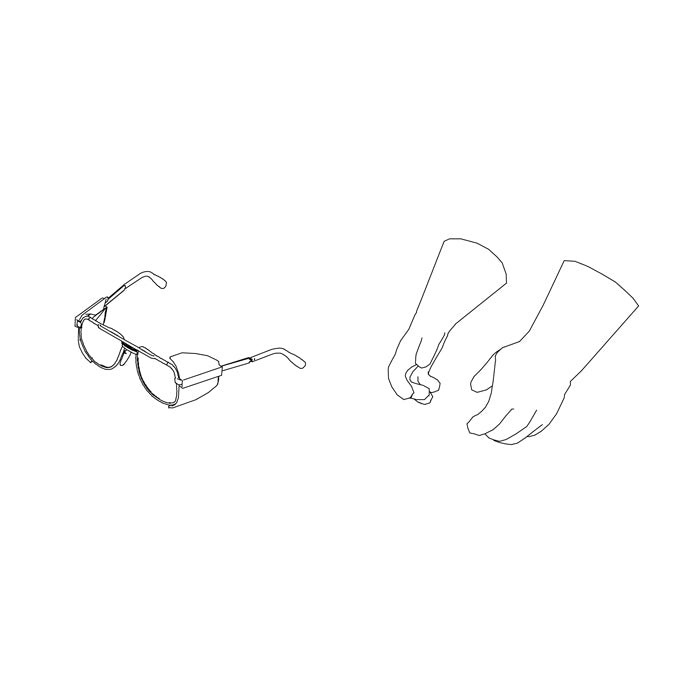
(3) Safety instructions
You will need a strong staple gun and staples for assembly, we recommend wearing safety goggles. For places that are difficult to access, you should use a temperature-resistant power adhesive; the manufacturer's safety recommendations apply here. Avoid skin contact and eye contact. We will not assume any liability for injuries and/or damage to your seat in connection with assembly.
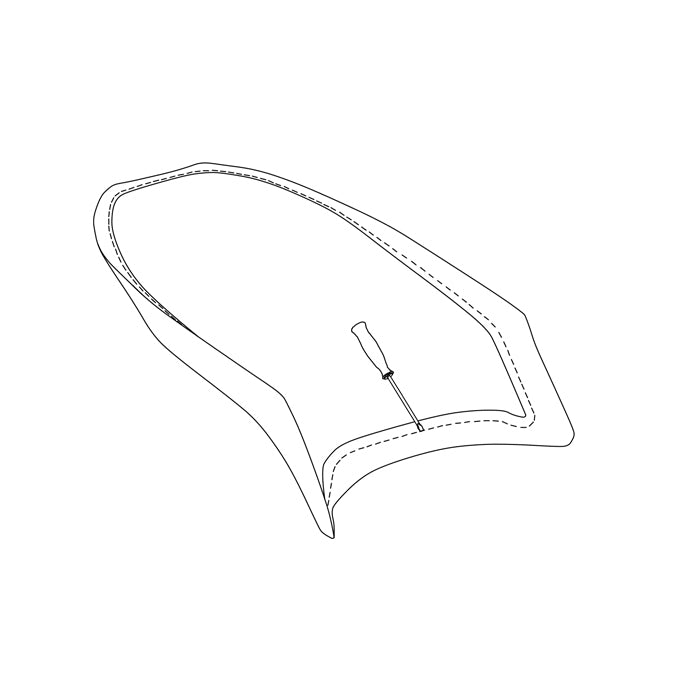
(4) Disassembly
Use a flat headed screwdriver to remove the old upholstery staples from the underside of the seat. Remove the old cover and let the original foam dry.
Unpack the new cover and spread it out. Leave it at room temperature for some time.
INFO: If your old cover is firmly glued to the foam core, you can also mount the new cover over the old cover.
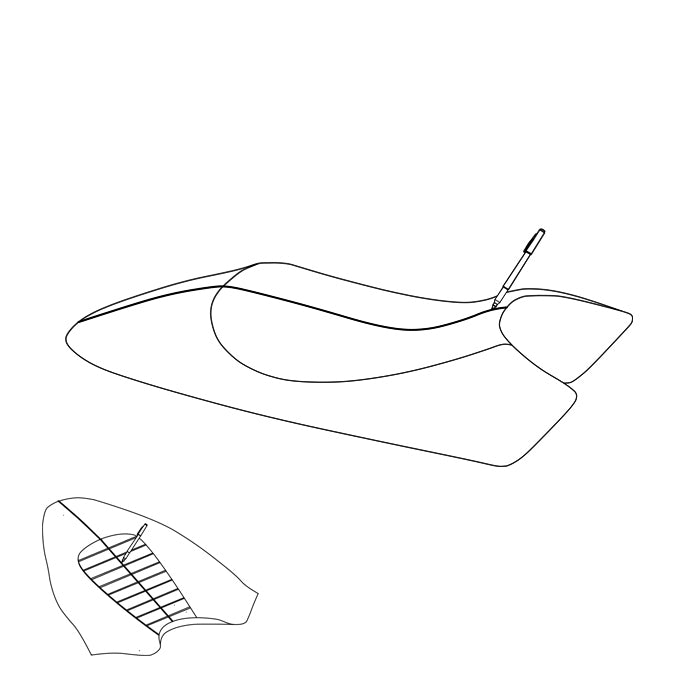
(5) Marking
To help align the new cover, mark the center of the seat base and the bottom of the cover with a chalk pen or permanent marker.
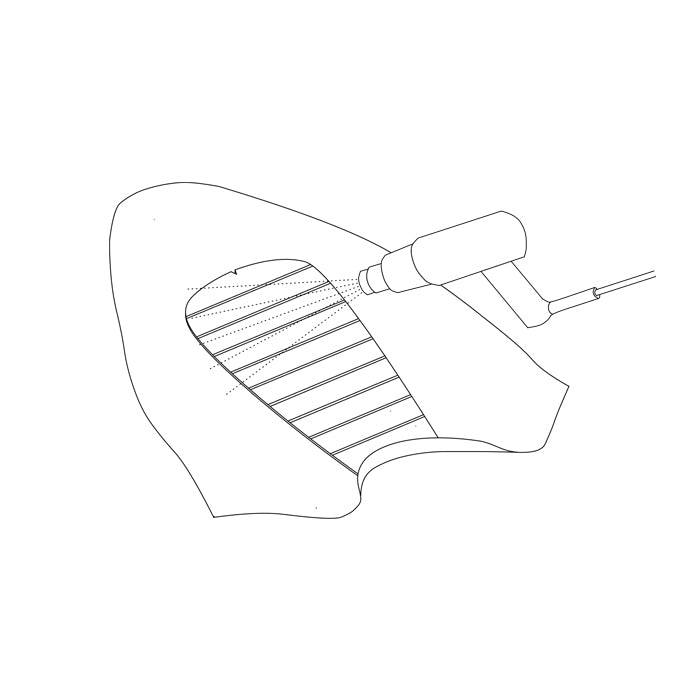
(6) Warm up
The upholstery fabric is relatively stiff when it comes out of the original packaging. Therefore, heat the underside of the new cover with a hot air gun (alternatively a household hair dryer) to make the material supple. Move the airflow over the surface, do not heat one spot for too long.
CAUTION: Too high a temperature and too long airflow on one spot can damage the material.
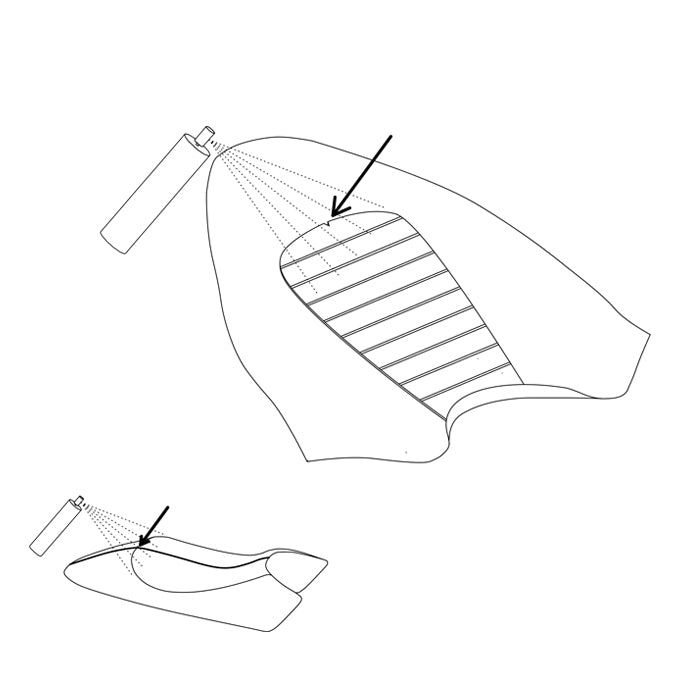
(7) Spray adhesive
For easier alignment you can spray the seating area on the original foam and the inside of the cover with spray adhesive and carefully place the seat cover on the seat at the marked position. Place the end of the seat base on the corresponding position on the foam (arrow). The center of the seat cover is marked with an I on the inside of our covers.
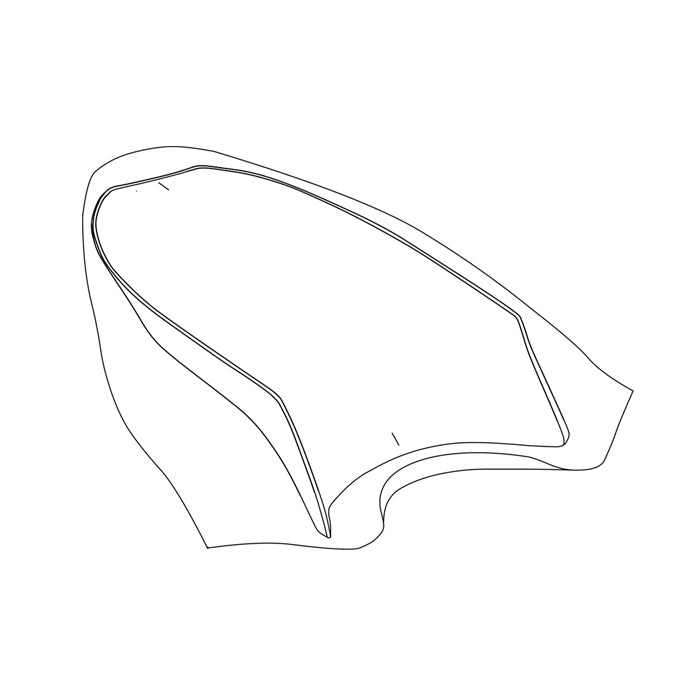
(8) Alignment
Once you have fixed the seat cover in its position with spray adhesive, you can now carefully turn the seat around. If you want to work without spray adhesive, place the new cover on the back on a clean surface and place your seat on it. Align the new cover in the middle of your seat. Make sure that the end of the seat base is positioned on the original foam in the desired position, hold the cover in place and carefully turn the seat and follow up with the next step.
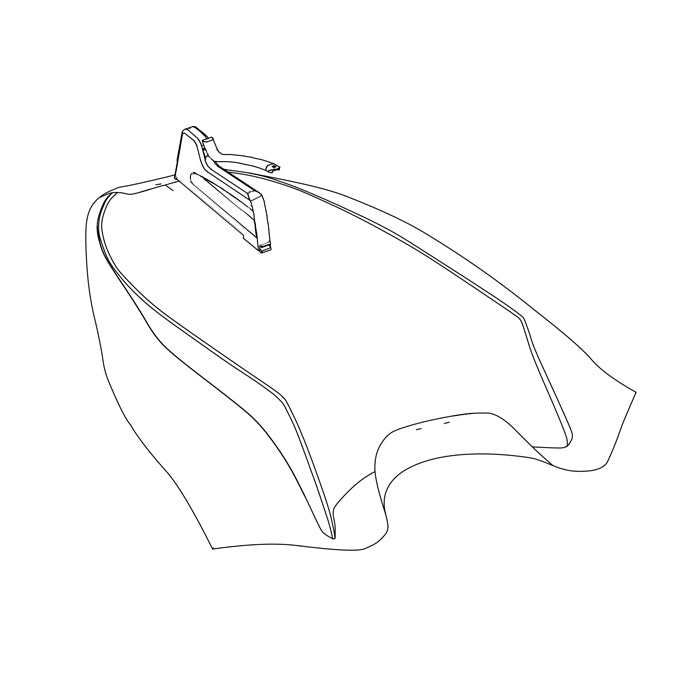
(9) Front and back
Fix the new cover in place at the front and back with staples, tensioning the cover moderately. If you have an adjustable stapler, try a low preload first and increase it if necessary.
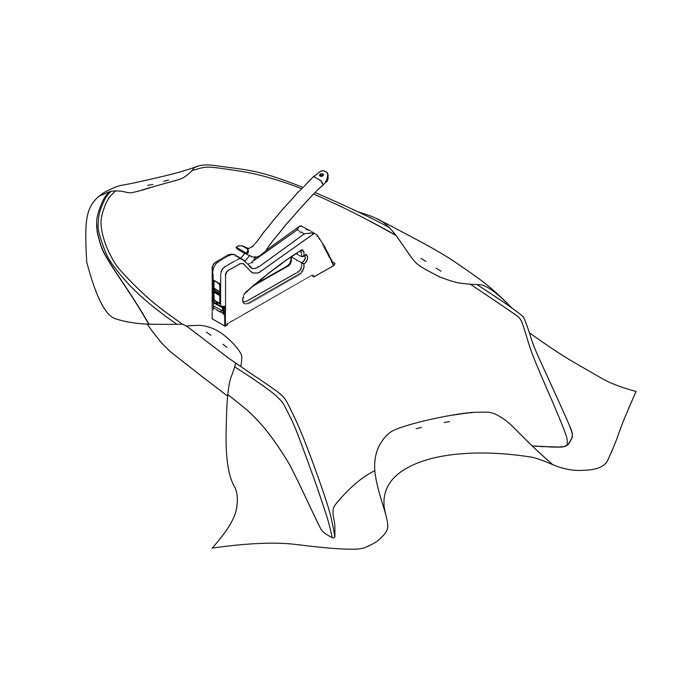
(10) Sides
Now stretch the side surfaces tightly, always opposite one another, and fix the cover with staples. If necessary, loosen staples again to correct the fit and the tension.
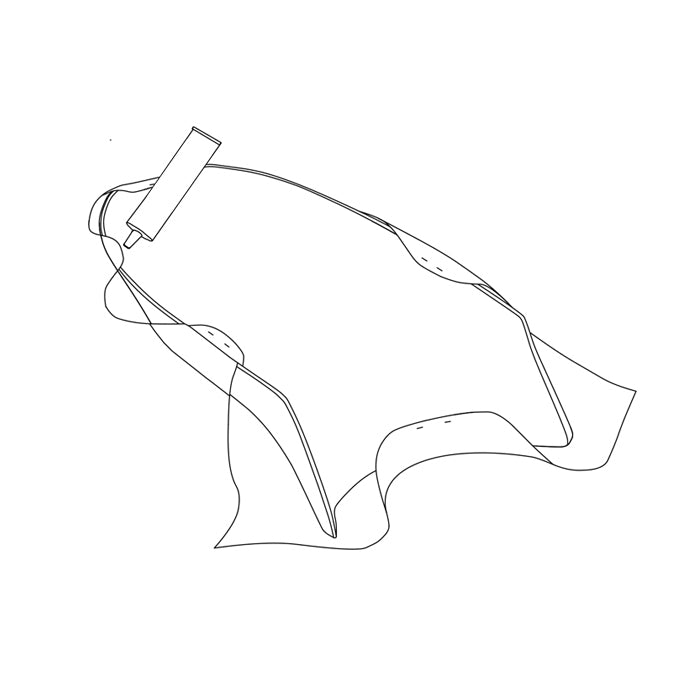
(11) Inaccessible parts
Use power glue in parts that are difficult to reach with a stapler. Follow the adhesive manufacturer's instructions.
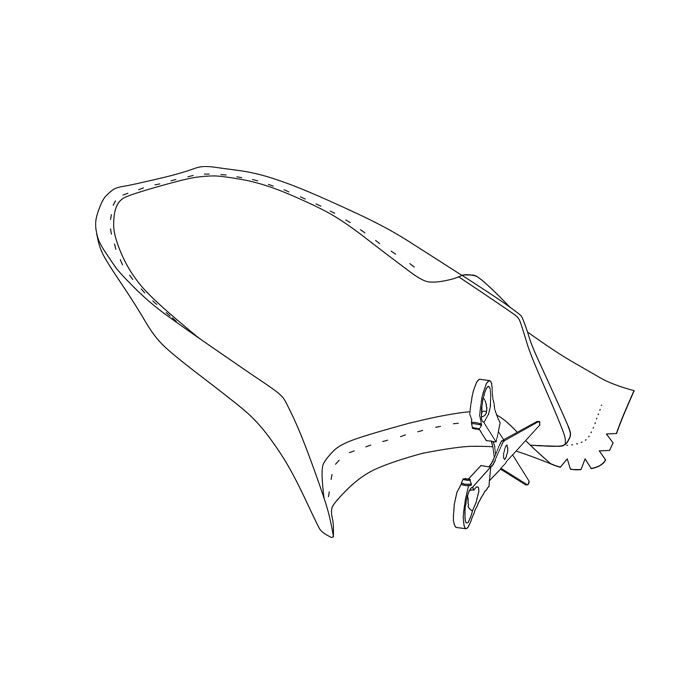
(12) Corners
For tight corners, pull the cover around the edges by hand and mark the contour of the edge of your seat on the inside of the cover. Now cut triangles out of the fabric in the corner area, staying about 1-2cm away from your marked edge. Now you can place the individual trapezoids on top of each other in the corner area and staple them in place one after the other.
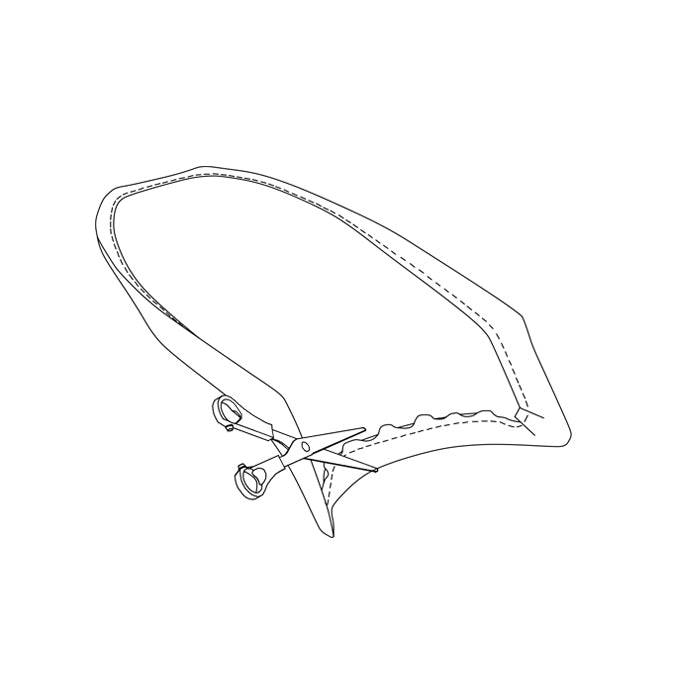
(13) Final assembly
If you are satisfied with the fit and the tension of the cover, fix the new cover evenly with staples. Trim excess, DO NOT cut through seams.
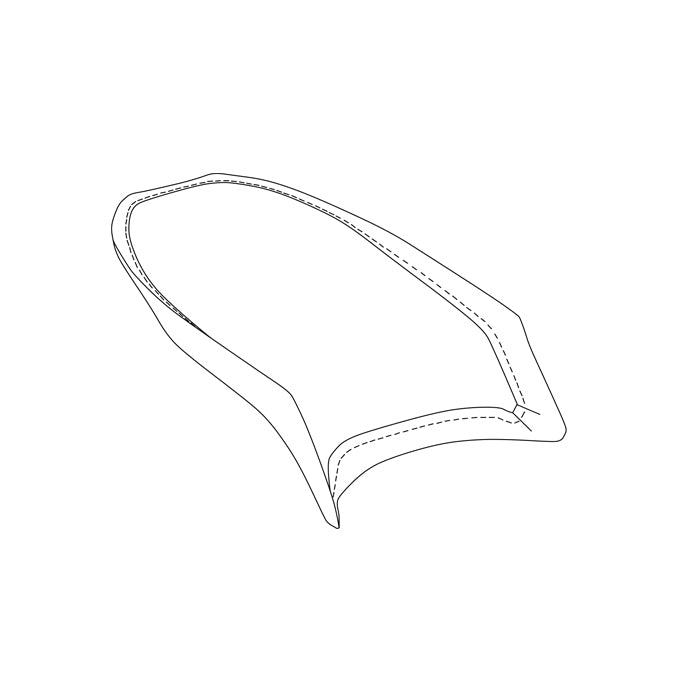
(14) Done
Check the fit and parallel course of the seams again. Pat yourself on the back! In front of you is your self-installed seat cover, ready for many comfortable hours on the motorbike.
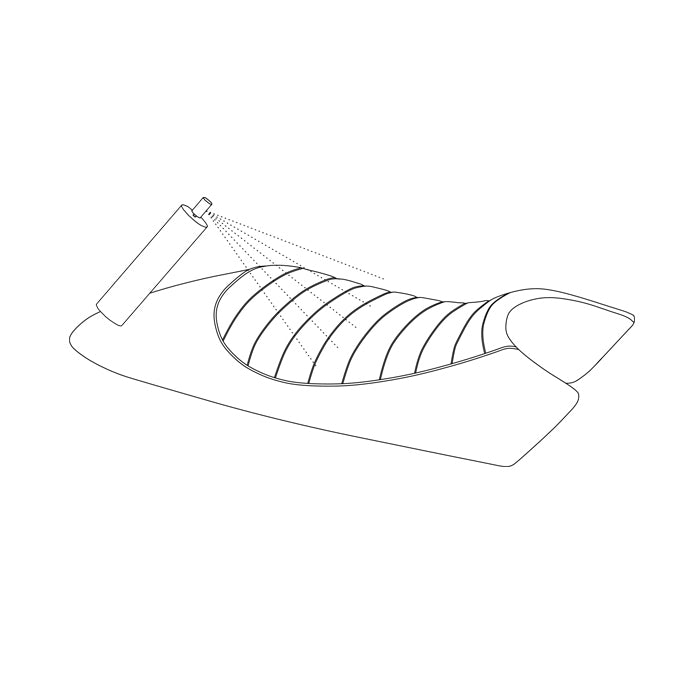
(15) Waterproofing
If regular trips in the rain are planned or if the parking space is not covered, it is advisable to coat the seat with an coating suitable for artificial leather. Do not use oily or greasy products.
Recommended product:
COLLONIL Carbon Pro
