Gel pad installation
(1) Tools
All you need to install our gel pad is a stable cutter, optional a flexible ruler, a permanent marker a scraper.
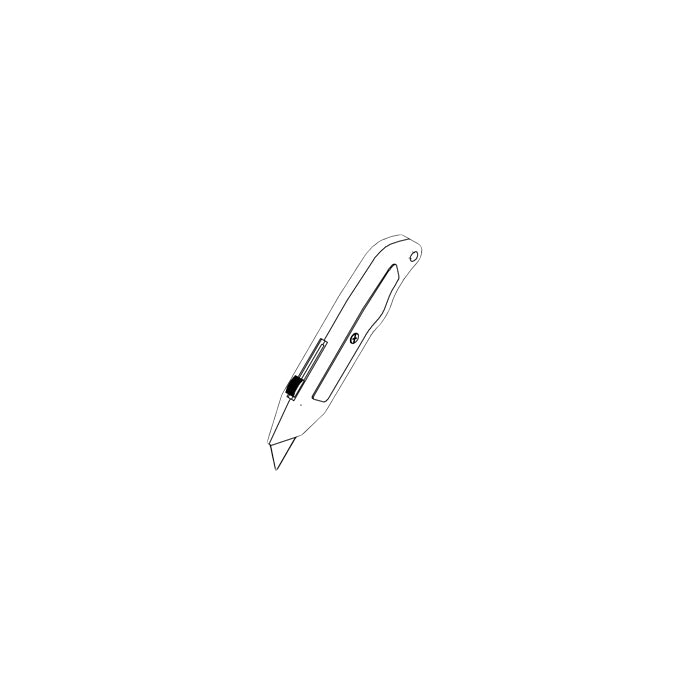
- cutter
(2) Safety instructions
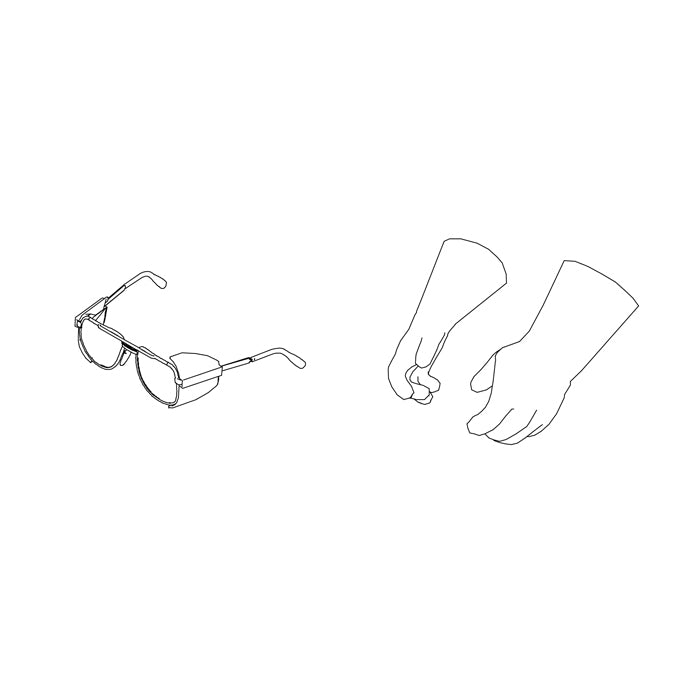
For the assembly you will need a cutter, we recommend wearing safety gloves for this. We assume no liability for injuries and / or damage to your seat in connection with the installation of the gel pad.
(3) Disassembly
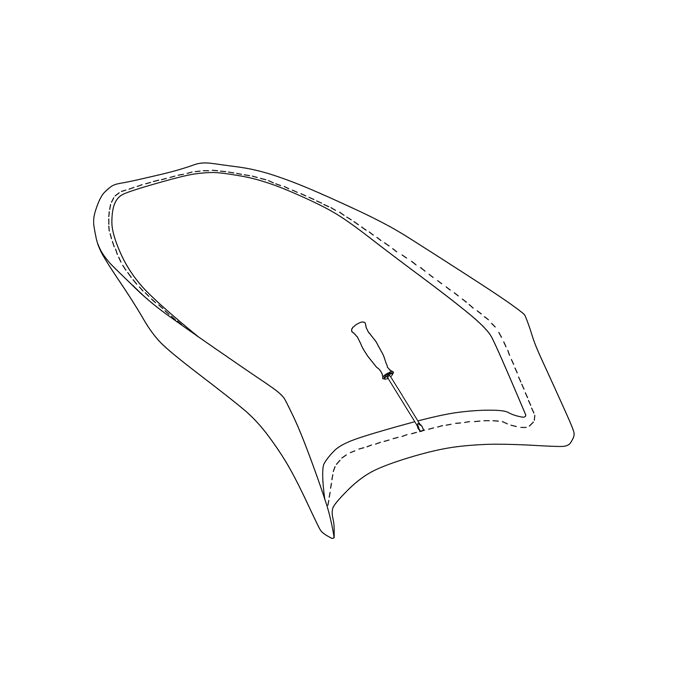
Remove the staples from the old cover on the underside of the seat with a flat slotted screwdriver and let the original foam dry.
(4) Preparation
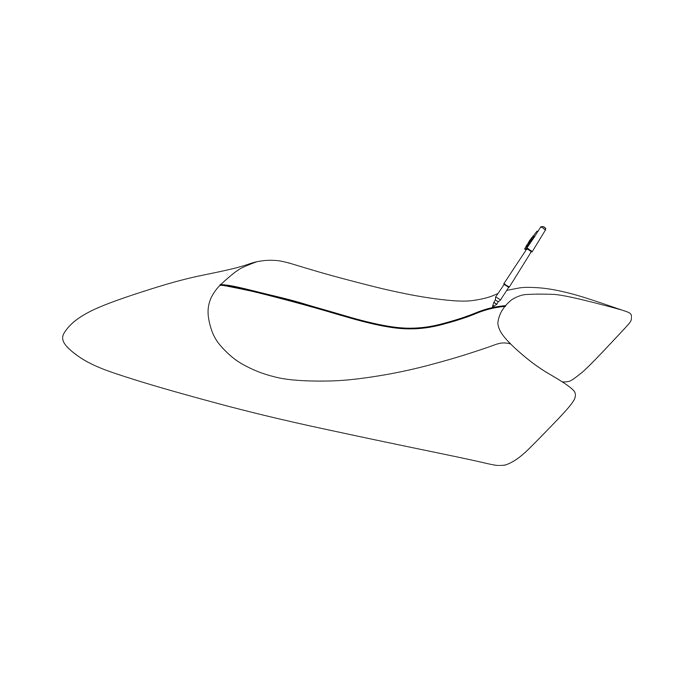
Mark the center of the seat using a flexible ruler.
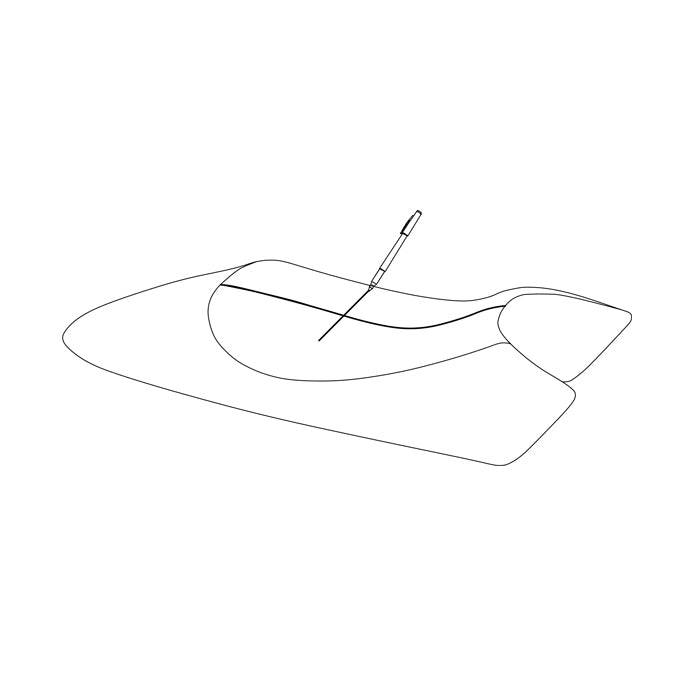
(5) Sitting bones
Mark the position of your sitting bones on the seat. To do this, reinstall the seat on your motorcycle, sit on the seat and take your riding position. Make a note of the point where your sitting bones press against the seat and mark it with a line orthogonal to the center line already drawn.
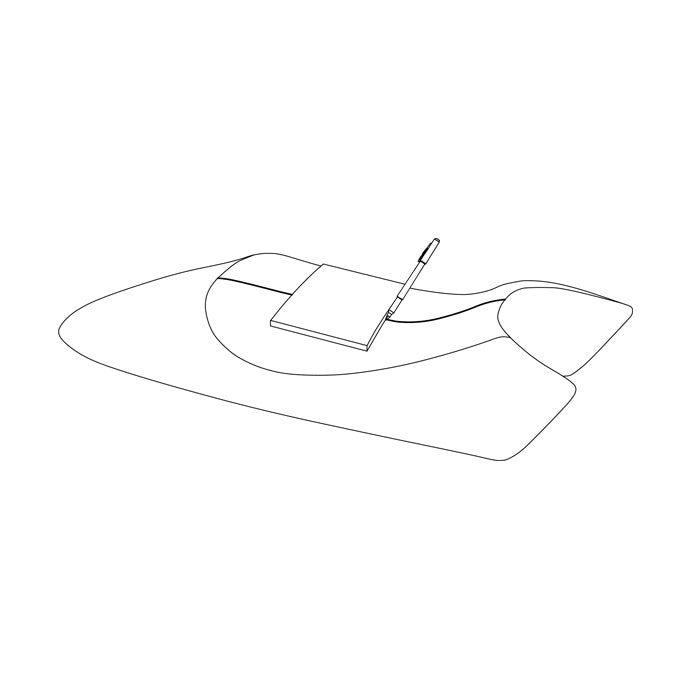
(6) Mark gelpad
Place the gelpad on your marked sitting bone position and mark the position. Depending on the seat and sitting position, the position of the gelpad can vary. As a rule, the middle of the gel insert is two fingers behind the position of the sitting bones that is drawn in.

(7) Cut gelpad
On one side of the gelpad, mark and cut off the section that will not support its own weight. Use the leftover piece to mark the other side. Cut these off too.
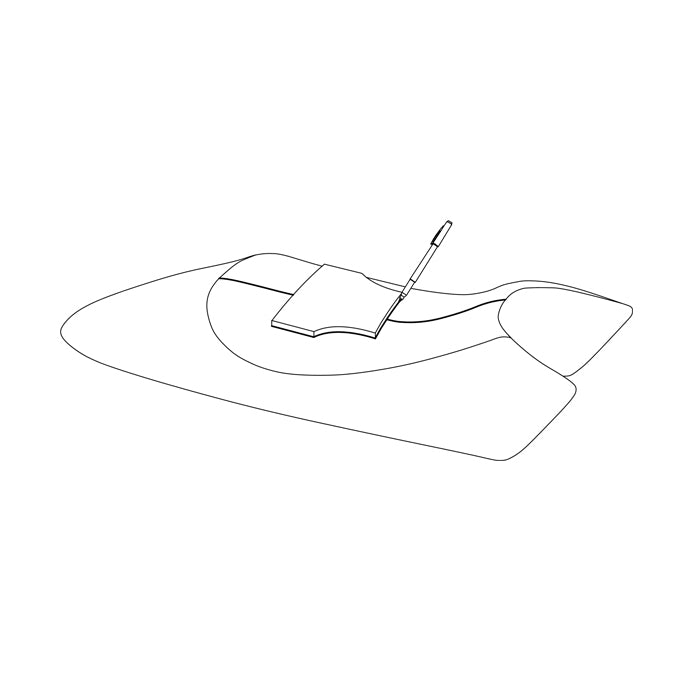
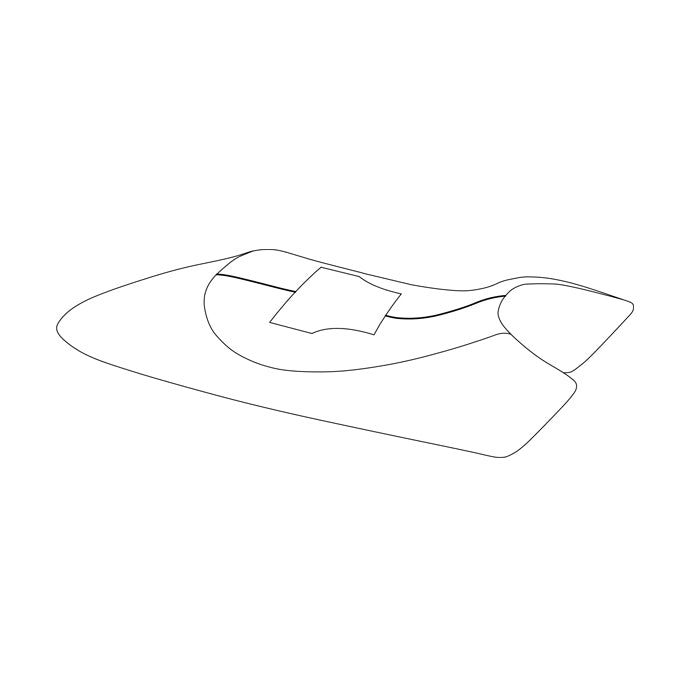
(8) Final position
Put the gelpad back on its old mark and mark the contour of the cut gelpad.
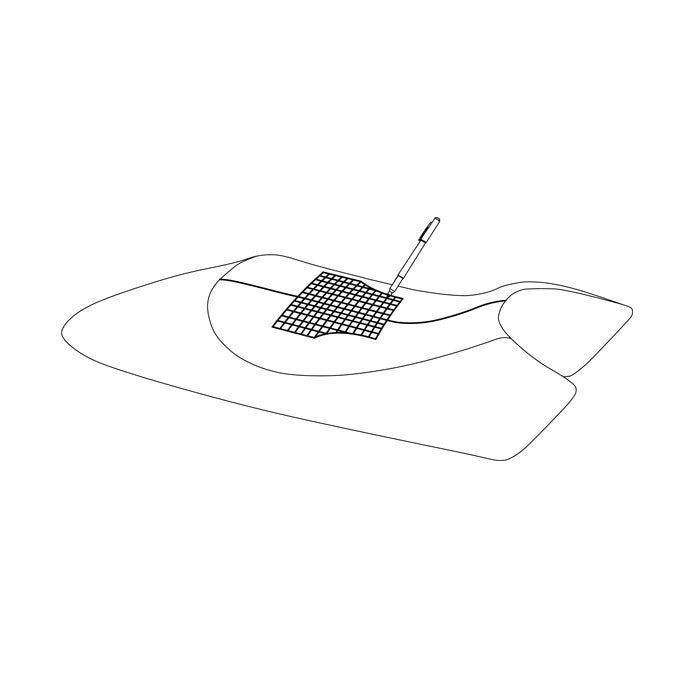
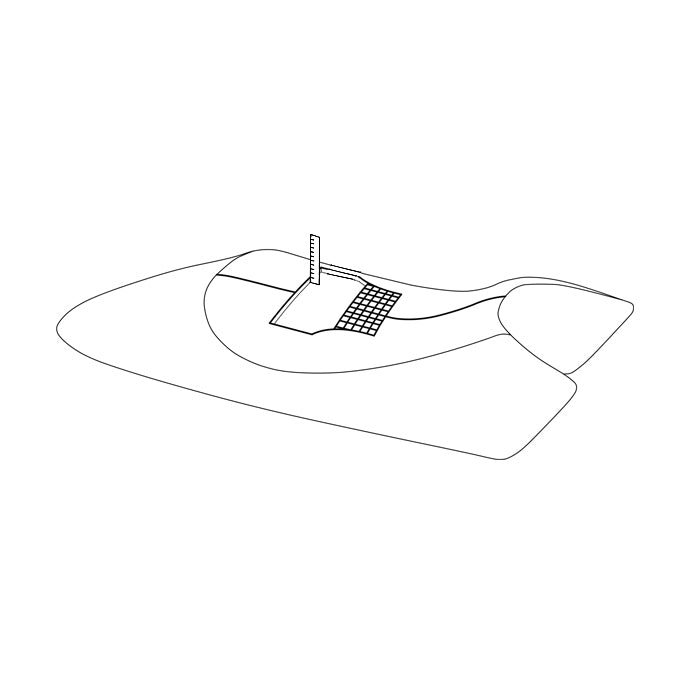
(9) Draw grid
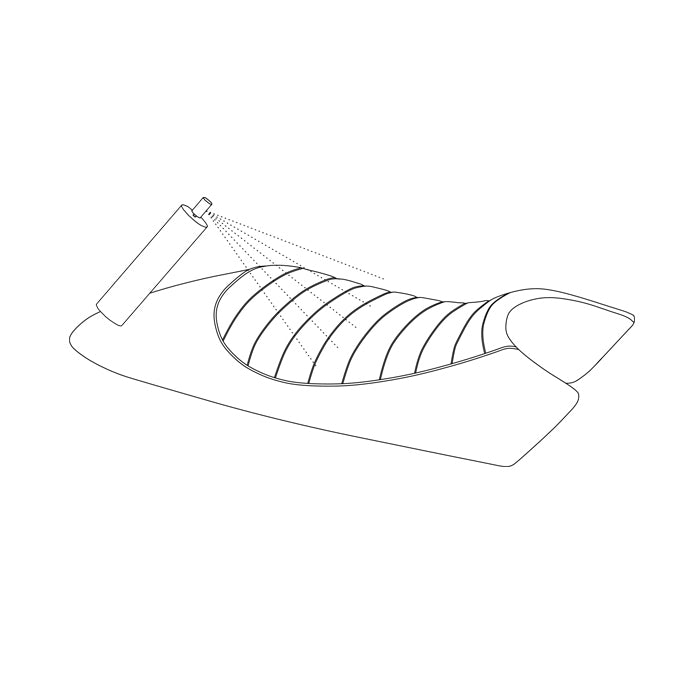
Draw a 2cm grid on the seat. Again, use a flexible ruler.
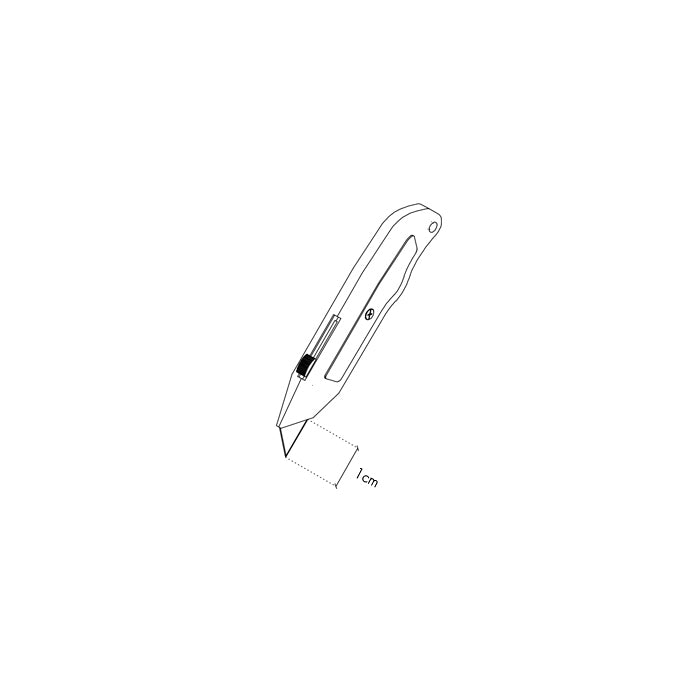
(10) Adjust cutter
Adjust the blade of the cutter to the thickness of your gelpad. In our case, set the cutter blade to 1cm in length.

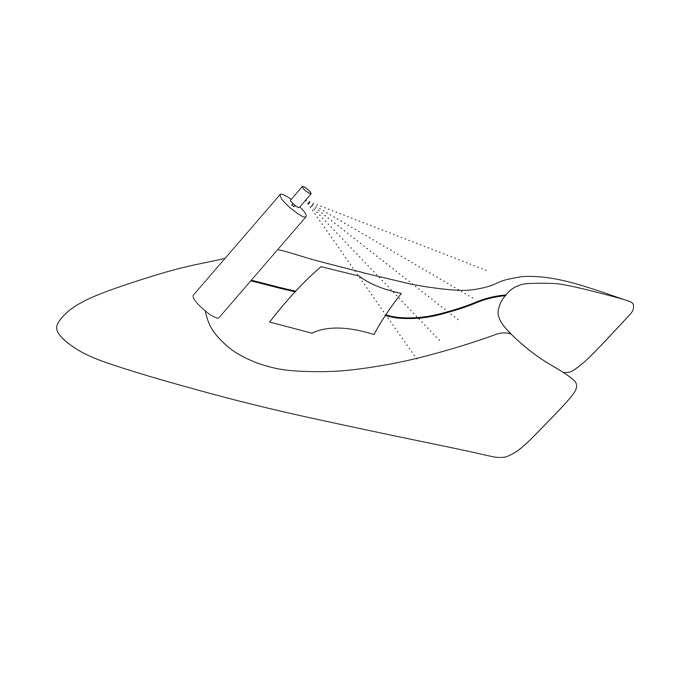
(11) Cut grid lines
Cut along the outline and grid lines. Proceed slowly and carefully with sawing movements. DO NOT pull the cutter through the foam as this may break it.
(12) Scrape surface
Once you have cut the outer contour and all grid lines, take the scraper and remove the remaining foam blocks flush to the depth of your cut. Measure the depth of the exposed area and level it.
(13) Insert gelpad
Place the gelpad in the exposed box. It should lie neatly and snugly on the surface and be flush with the edges.
(14) Glue foam - optional
If you use our COMFORT or DIAMANT cover, you can skip this step. Otherwise you should now spray the entire foam surface of the seat with spray adhesive and stick 5mm foam on it to conceal the transitions between the gel pad and the original foam. (Note: The foam is already sewn into our COMFORT and DIAMANT covers.)
(15) Done
The installation of the gel insert is now complete! Now you can mount your new cover.
To install the seat cover, go here: Seat cover installation